Rock painting is SO much fun and a great art project and craft for kids of all ages. I love painting rocks too. Whenever we go to the river or on a fun hike, we always collect different sized rocks so that we can add them to our collection of rocks and paint them later!
This is a wonderful, rainy day activity that requires very little supplies but gives you lots of fun, imaginative play! Paint your rock any color you want. Make your rock come to life by painting a face on them or turning them into an animal or person you love!
*This post includes my Amazon affiliate links
Here are some Rock Painting Ideas:
*Sayings: This is fun! Choose a saying or word that means something to you and paint it on your rock.
*Pictures: paint something that makes you happy! A heart, smiley face, peace sign, etc.
*Person: Paint a person that you absolutely love! It doesn’t have to be perfect!
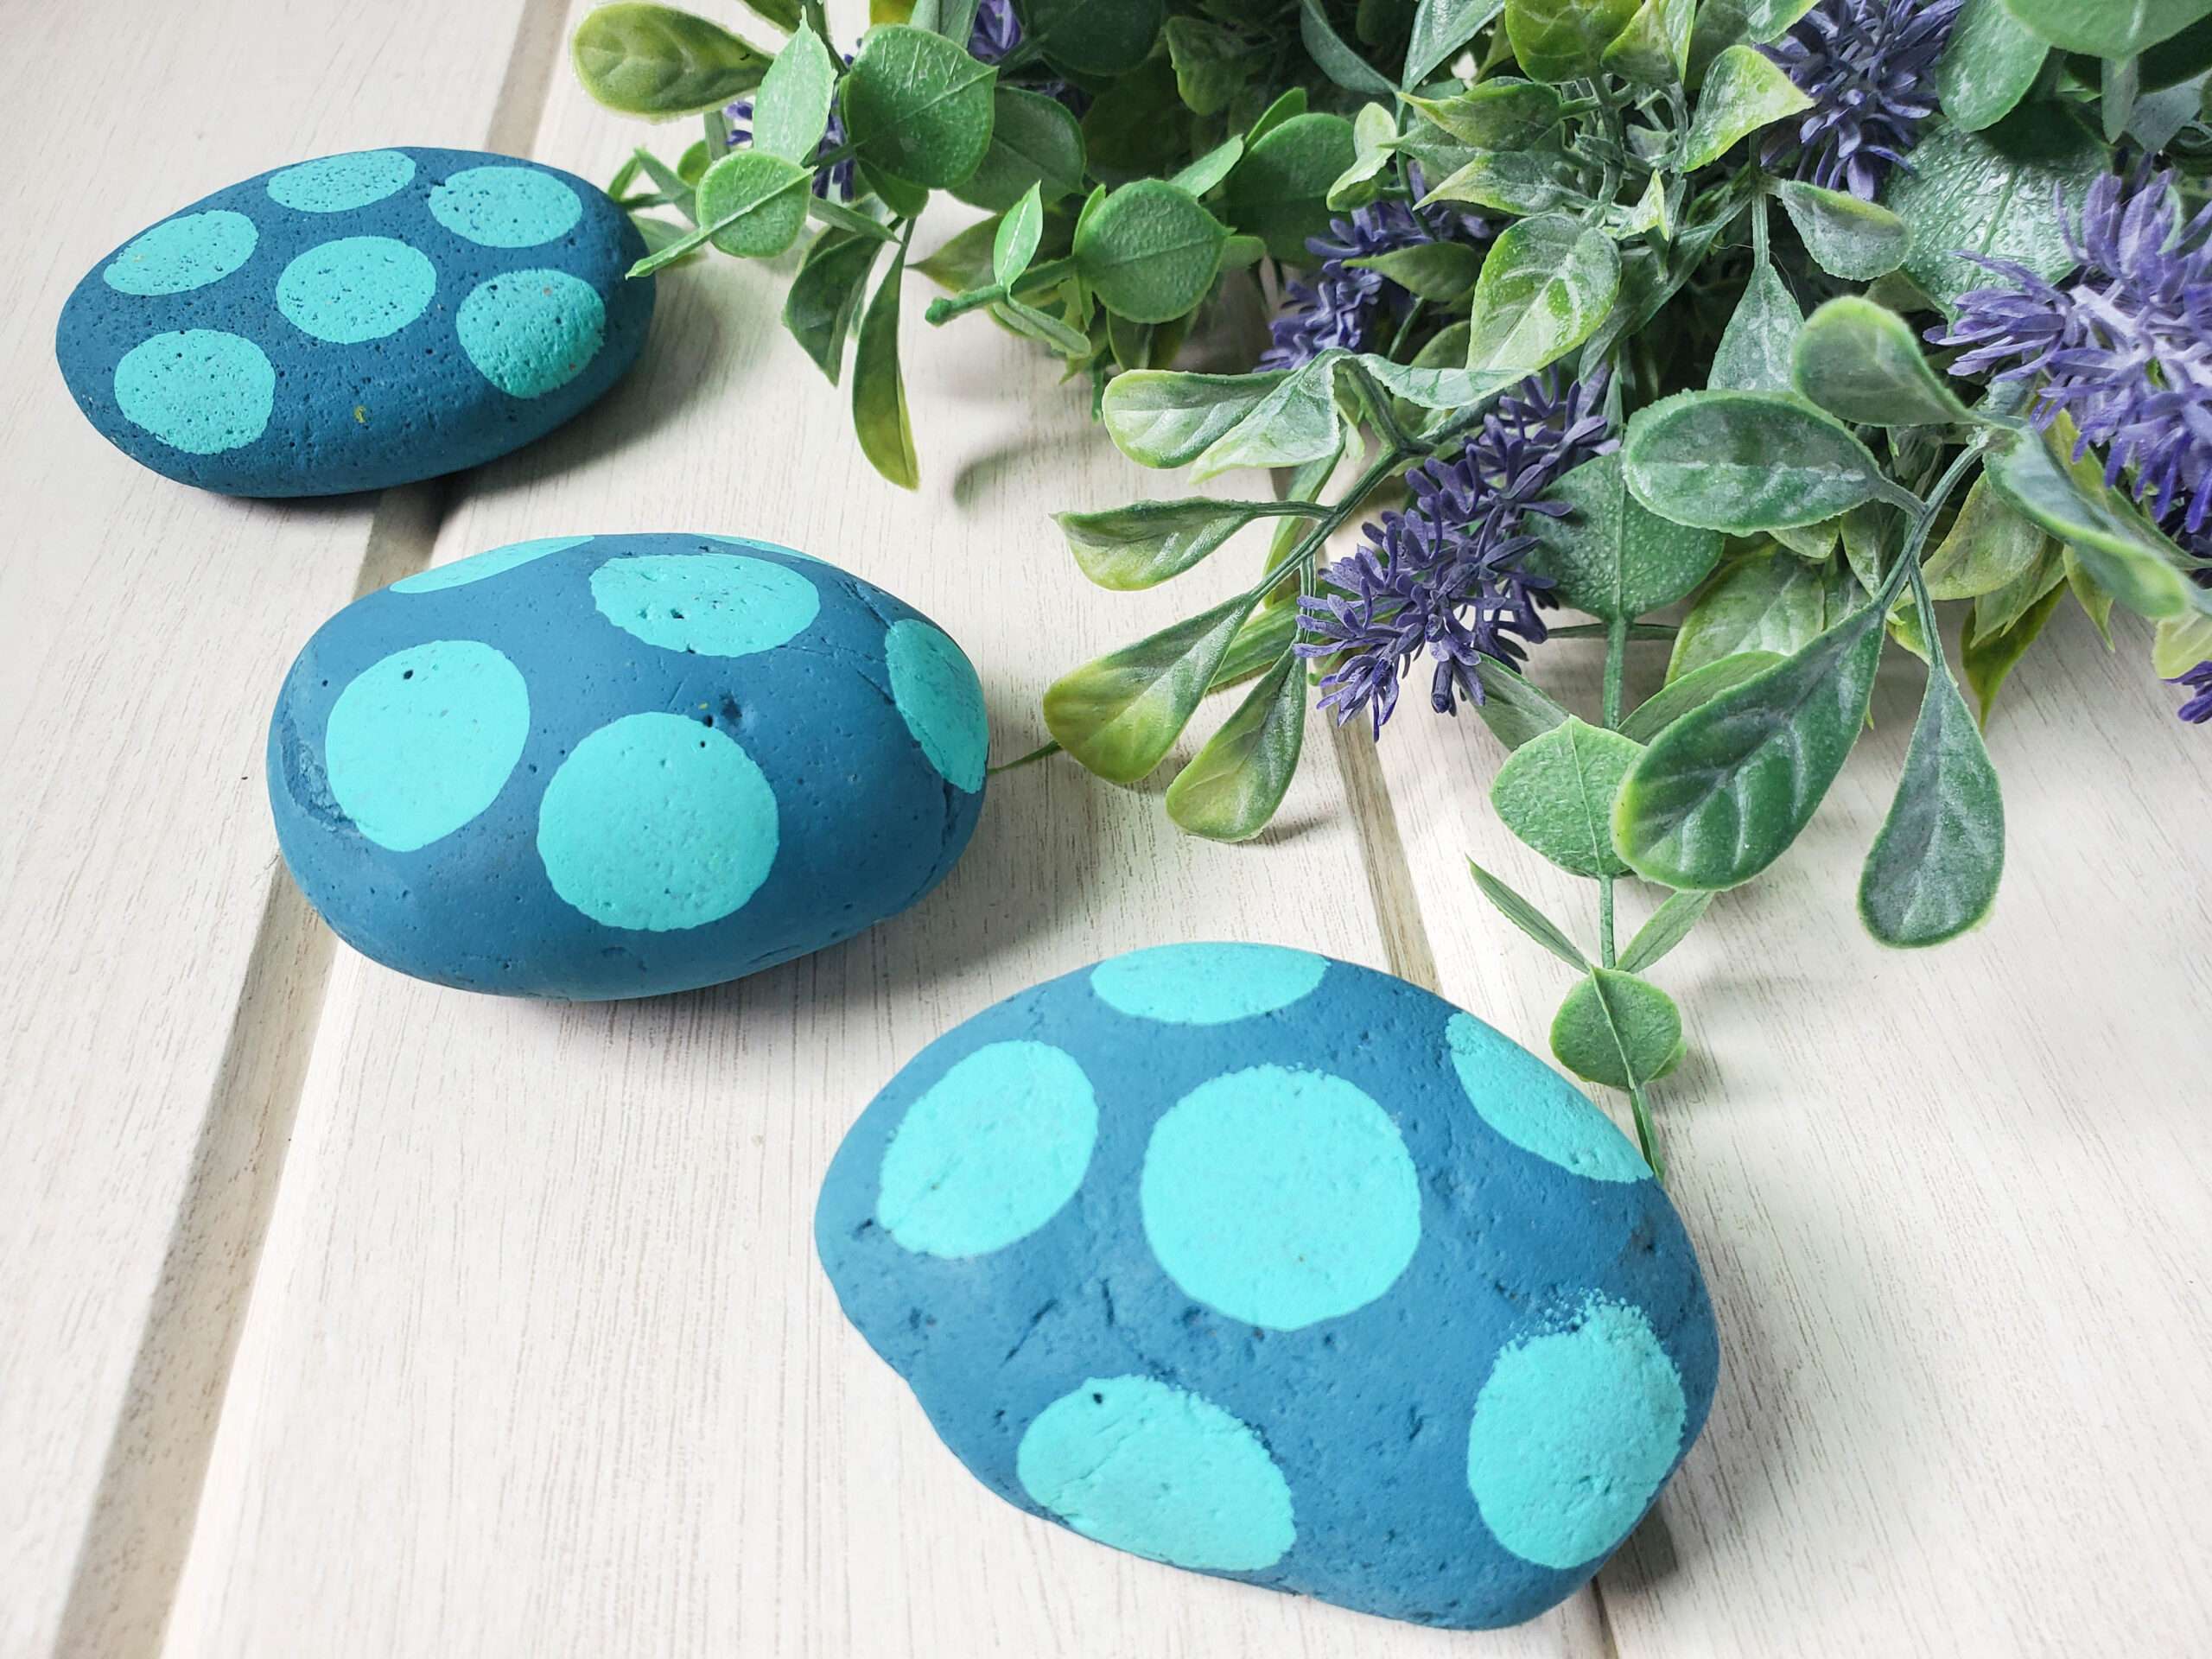
*Designs: Designs are always fun to do. There is no right or wrong way to paint a design! Make up your own, or use the cute polka dot design we used! (see below).
*Paint a solid color: This is a great way to display your favorite color!
*Animals: Paint your favorite animal on your rock or find a rock that is shaped like your favorite animal and paint it to look just like it!
*Emojis: Everyone loves emojis and I am sure you have a favorite emoji, right? My favorite is the laughing Emoji!
Rock Painting Time!
So many possibilities! Are you ready to paint? Are you ready to get creative? Grab your yummy hot chocolate frozen ice pop and let’s do it!
Supplies:
*River rocks
*Craft paint in coordinating colors (colors we used – Aquamarine and Tuscan Teal) OR you can use acrylic paint pens!
*Newspaper
Directions:
1. Lay down newspaper to protect your work surface.
2. Paint the entire top surface of the rock in your choice of color using the 1-inch paintbrush. Allow drying.
3. Flip rock over and paint the back. Allow drying.
4. Depending on the color you used, you may have to repeat steps 2 and 3.
5. Dab the round foam brush in the second paint color and stamp “dots” all over the rock, wherever you like.
6. Allow drying.
These turned out SO cute!
These are simple to paint and you can paint them however you want! They are so much fun to do! Let me know if you paint some rocks. I want to know how yours turn out!
PIN IT


