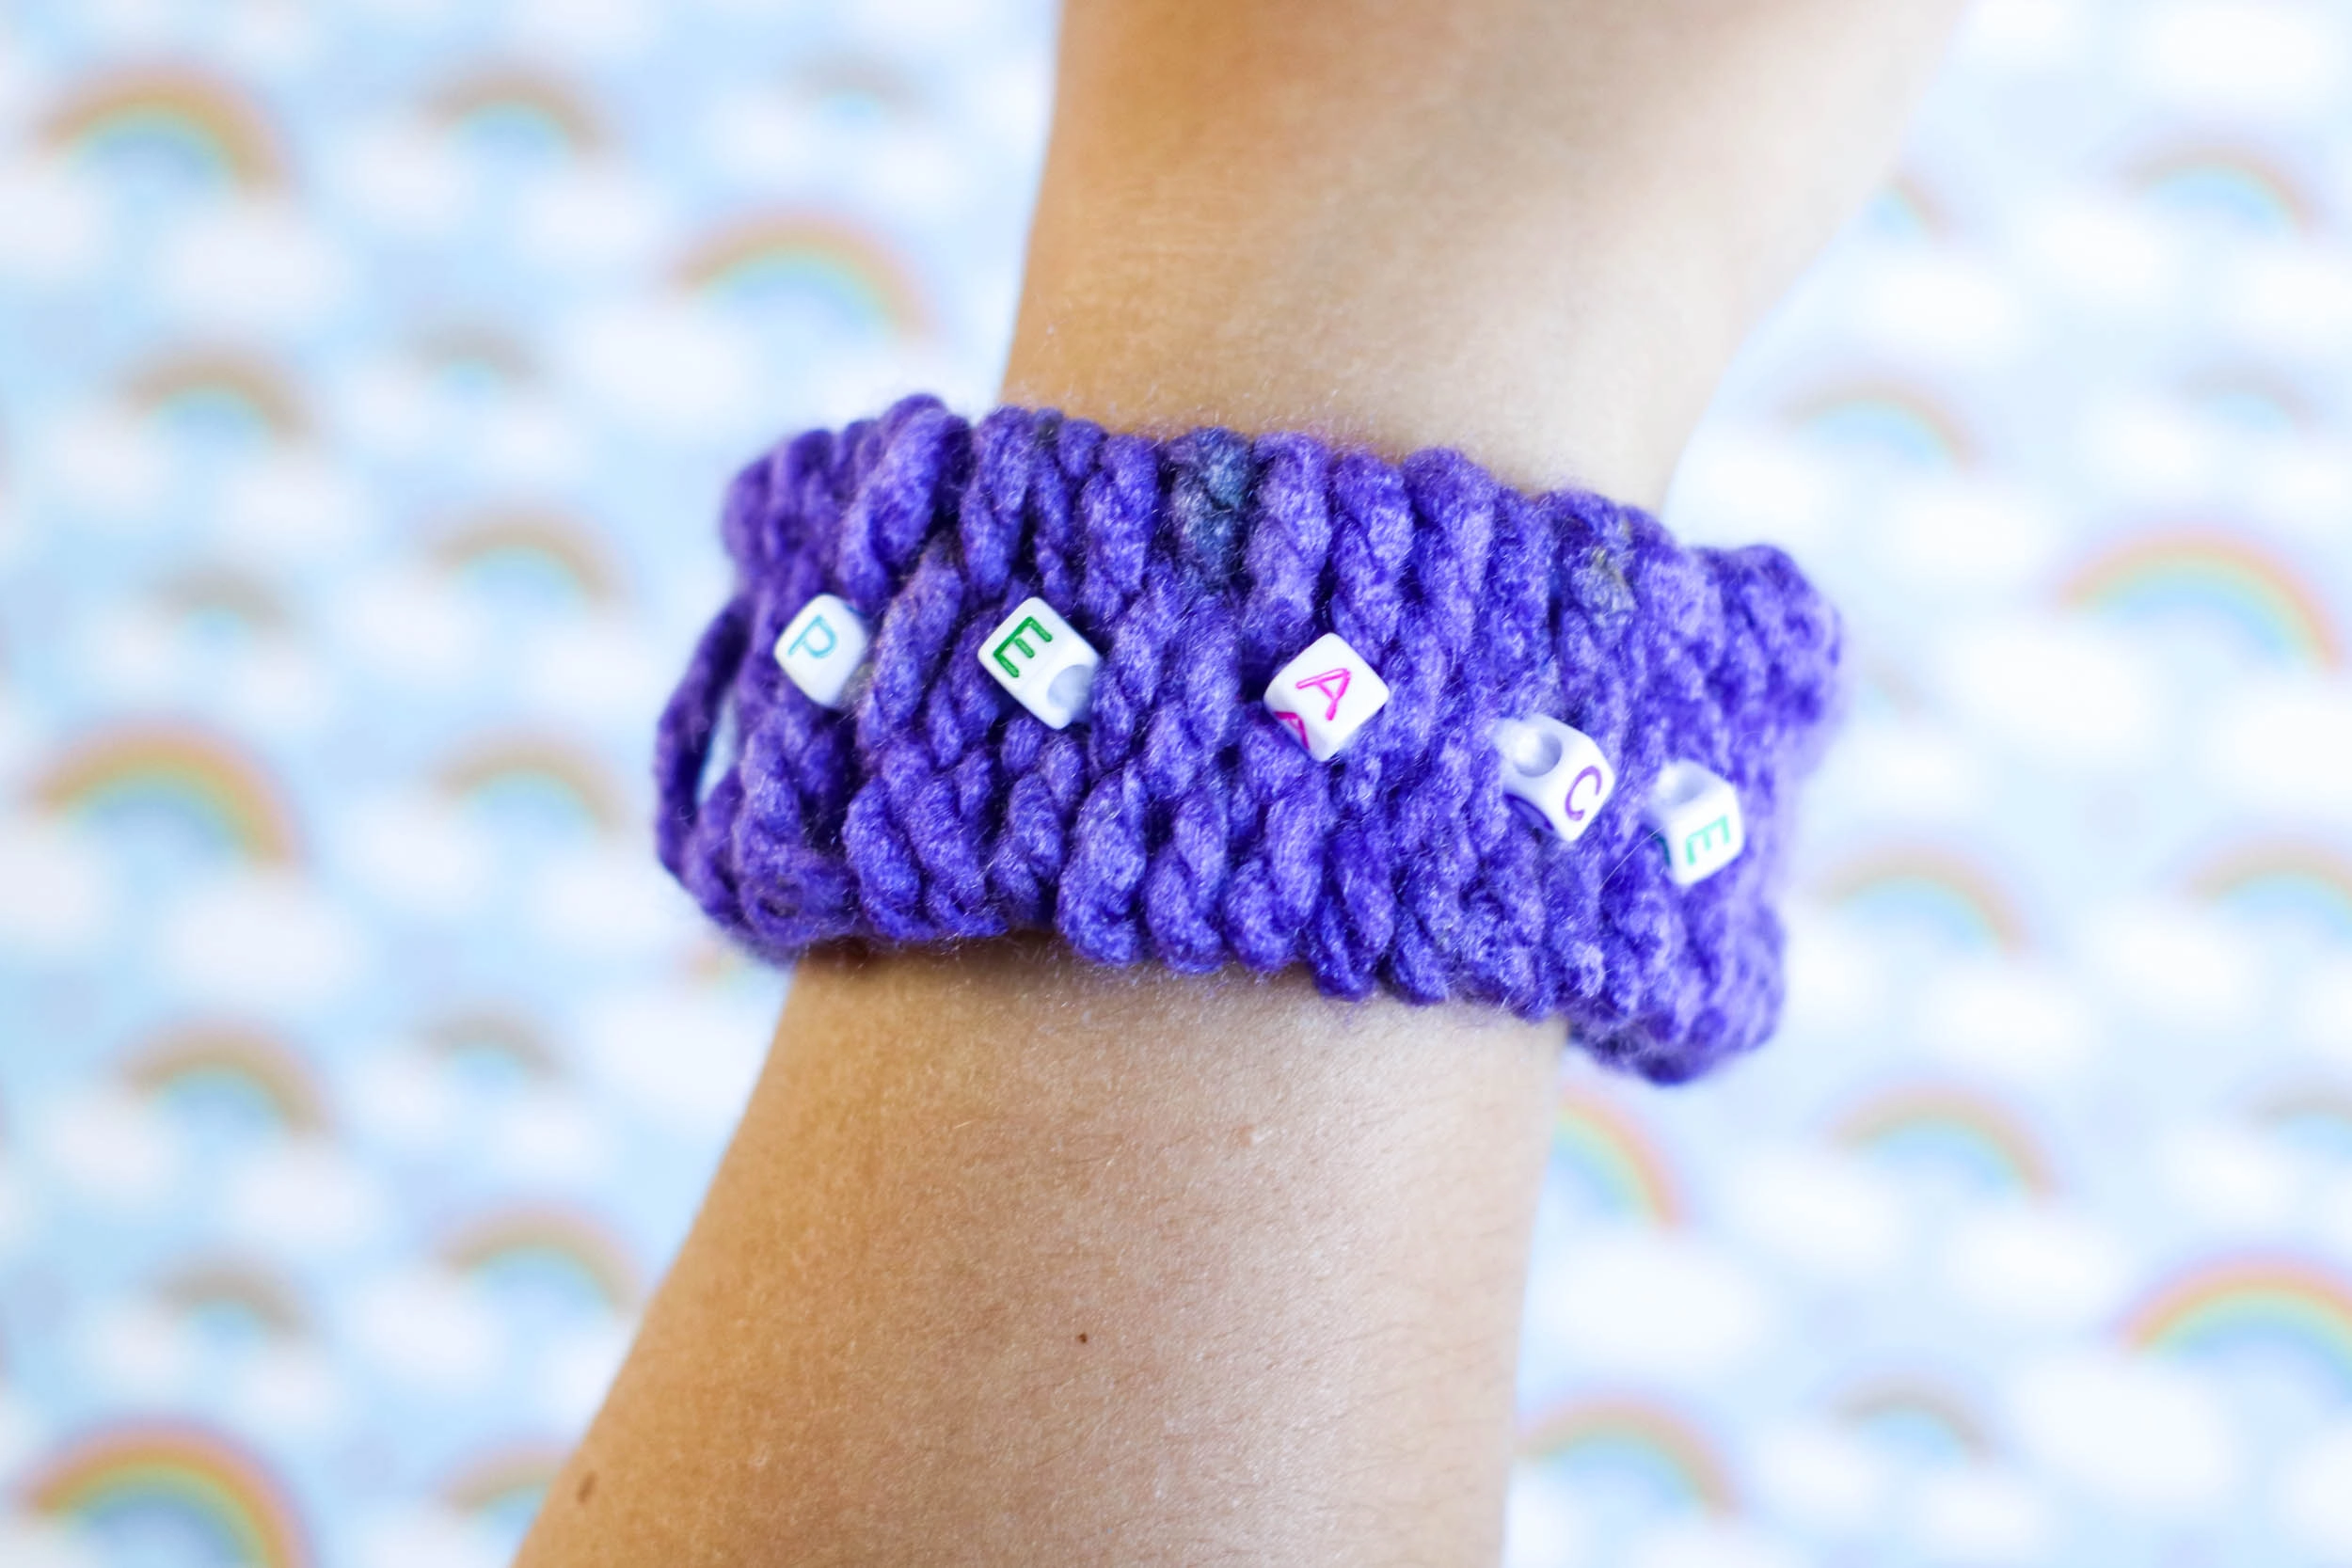
I love it when you can find things around your home and make them into pieces of art! It is not only fun to do but you are reusing things and making them into something special! Kids especially love doing things like this! Just ask my kids! Today, we are going to make bracelets with drinking straws! Plus, it keeps your kids busy and in a good way!
I am sure we all have some drinking straws in our home in the junk drawer in your kitchen or inside of your car from going through drive-thrus. If not, you can easily purchase a package of drinking straws at your local grocery store online at Amazon.
Below is everything you need to make these awesome bracelets with drinking straws!
What you will need:
- 3 straws, using different colors may help
- Tape
- Yarn (thin enough to fit into straws)
- Decorative yarn
- Beads, if desired
- Scissors
Directions:
1. Cut three pieces of the thinner yarn in approximately 24-inch lengths.
2. Gently press each strand through a drinking straw.
3. To the end coming out one side of the straws, add the end of the decorative yarn and tie it into a large knot. Arrange the decorative yarn so it is in front of the straws and then tape the knotted end of the yarn to a table, overlapping the end of the straws with the tap to hold securely.
4. Begin working the decorative yarn in an over-under basket weave pattern from the top by passing under the middle straw and over the last straw.
5. Wrap the yarn over the last straw, then over the middle straw, and under the top straw. Then you are ready to wrap over the top straw and begin going back to the middle, continuing the over-under weave.
6. Periodically, pull the weave tight (not so tight that the straws bend but tight enough to hide the straws) and push it towards the knotted end.
7. Continue weaving until the bracelet is the length you desire.
8. Cut the end of the decorative yard, leaving about 5 inches at the end. Tie off the final pass by knotting the decorative string to itself.
9. Gently pull the straws from the weave one at a time, pushing the weave towards the side where you began.
10. Once the straws are removed, fluff, and gently pull any places in the weave that need adjusting. Tie off the final end by grouping all three of the pieces from inside the straws with the loose end of the decorative yarn and creating a large knot.
11. Trim the yarn ends.
12. If beading is desired, cut one piece of yarn (4 to 5 inches long) for each bead. Work one end of the yarn through the weave over the hidden middle string. Put the bead on the other end of the string and hold it against the bracelet as you work the other end of the yard through the bracelet passing under the hidden middle string.
13. Flip the bracelet over and tightly tie the two ends into a knot. Cut off the excess.
That is it! You can make these staw weaved bracelets for all of your friends! Let me know if you decide to make them. I would love to see how they turned out for you! Don’t forget to check out my other fun craft about painting with lemons! So fun!


